Then came the adding of the foam, this was done by adding two different agents together very fast because they set quickly into the mould. Before we could add the mixture together we had to work out the correct ratio (which was 70:40 for my mould). After that we had to weigh the mixtures so that we could work out if we had the right amount, then we mixed them together very quickly so that there were no bubbles in the mixture, this is so that when the mould is set the character doesn't have any holes in it. When we poured in the mixture into the plaster moulds we had to move the plaster moulds around so that the foam mixture would get into every space possible, however if you put too much in it would over flow and come out at the feet, this is okay though because you can just cut off the bit you don't want.
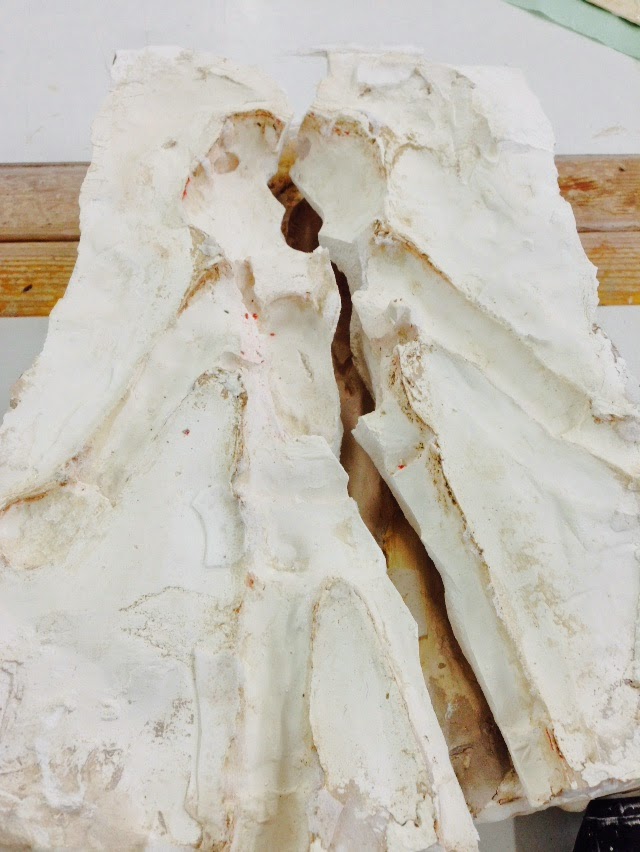
The most difficult part of this process it the actual taking apart of the two moulds because the foam is so sticky that it can damage the plaster, which is what happened to me when I was pulling off the plaster. I think it was because I didn't put enough of the wax and turps mixture on the plaster mould before adding the foam to it. Not doing this made me completely break my mould into two pieces, which was depressing but my foam model came out okay I suppose.
No comments:
Post a Comment